Setup Kali Linux Homelab on MacOS

This blog is for anyone who love hacking and don’t know how to set up a virtual machine lab.
We have 2 options: VMware and VirtualBox.
Unfortunately, VirtualBox does not support on Macbook, so we will use VMware instead.
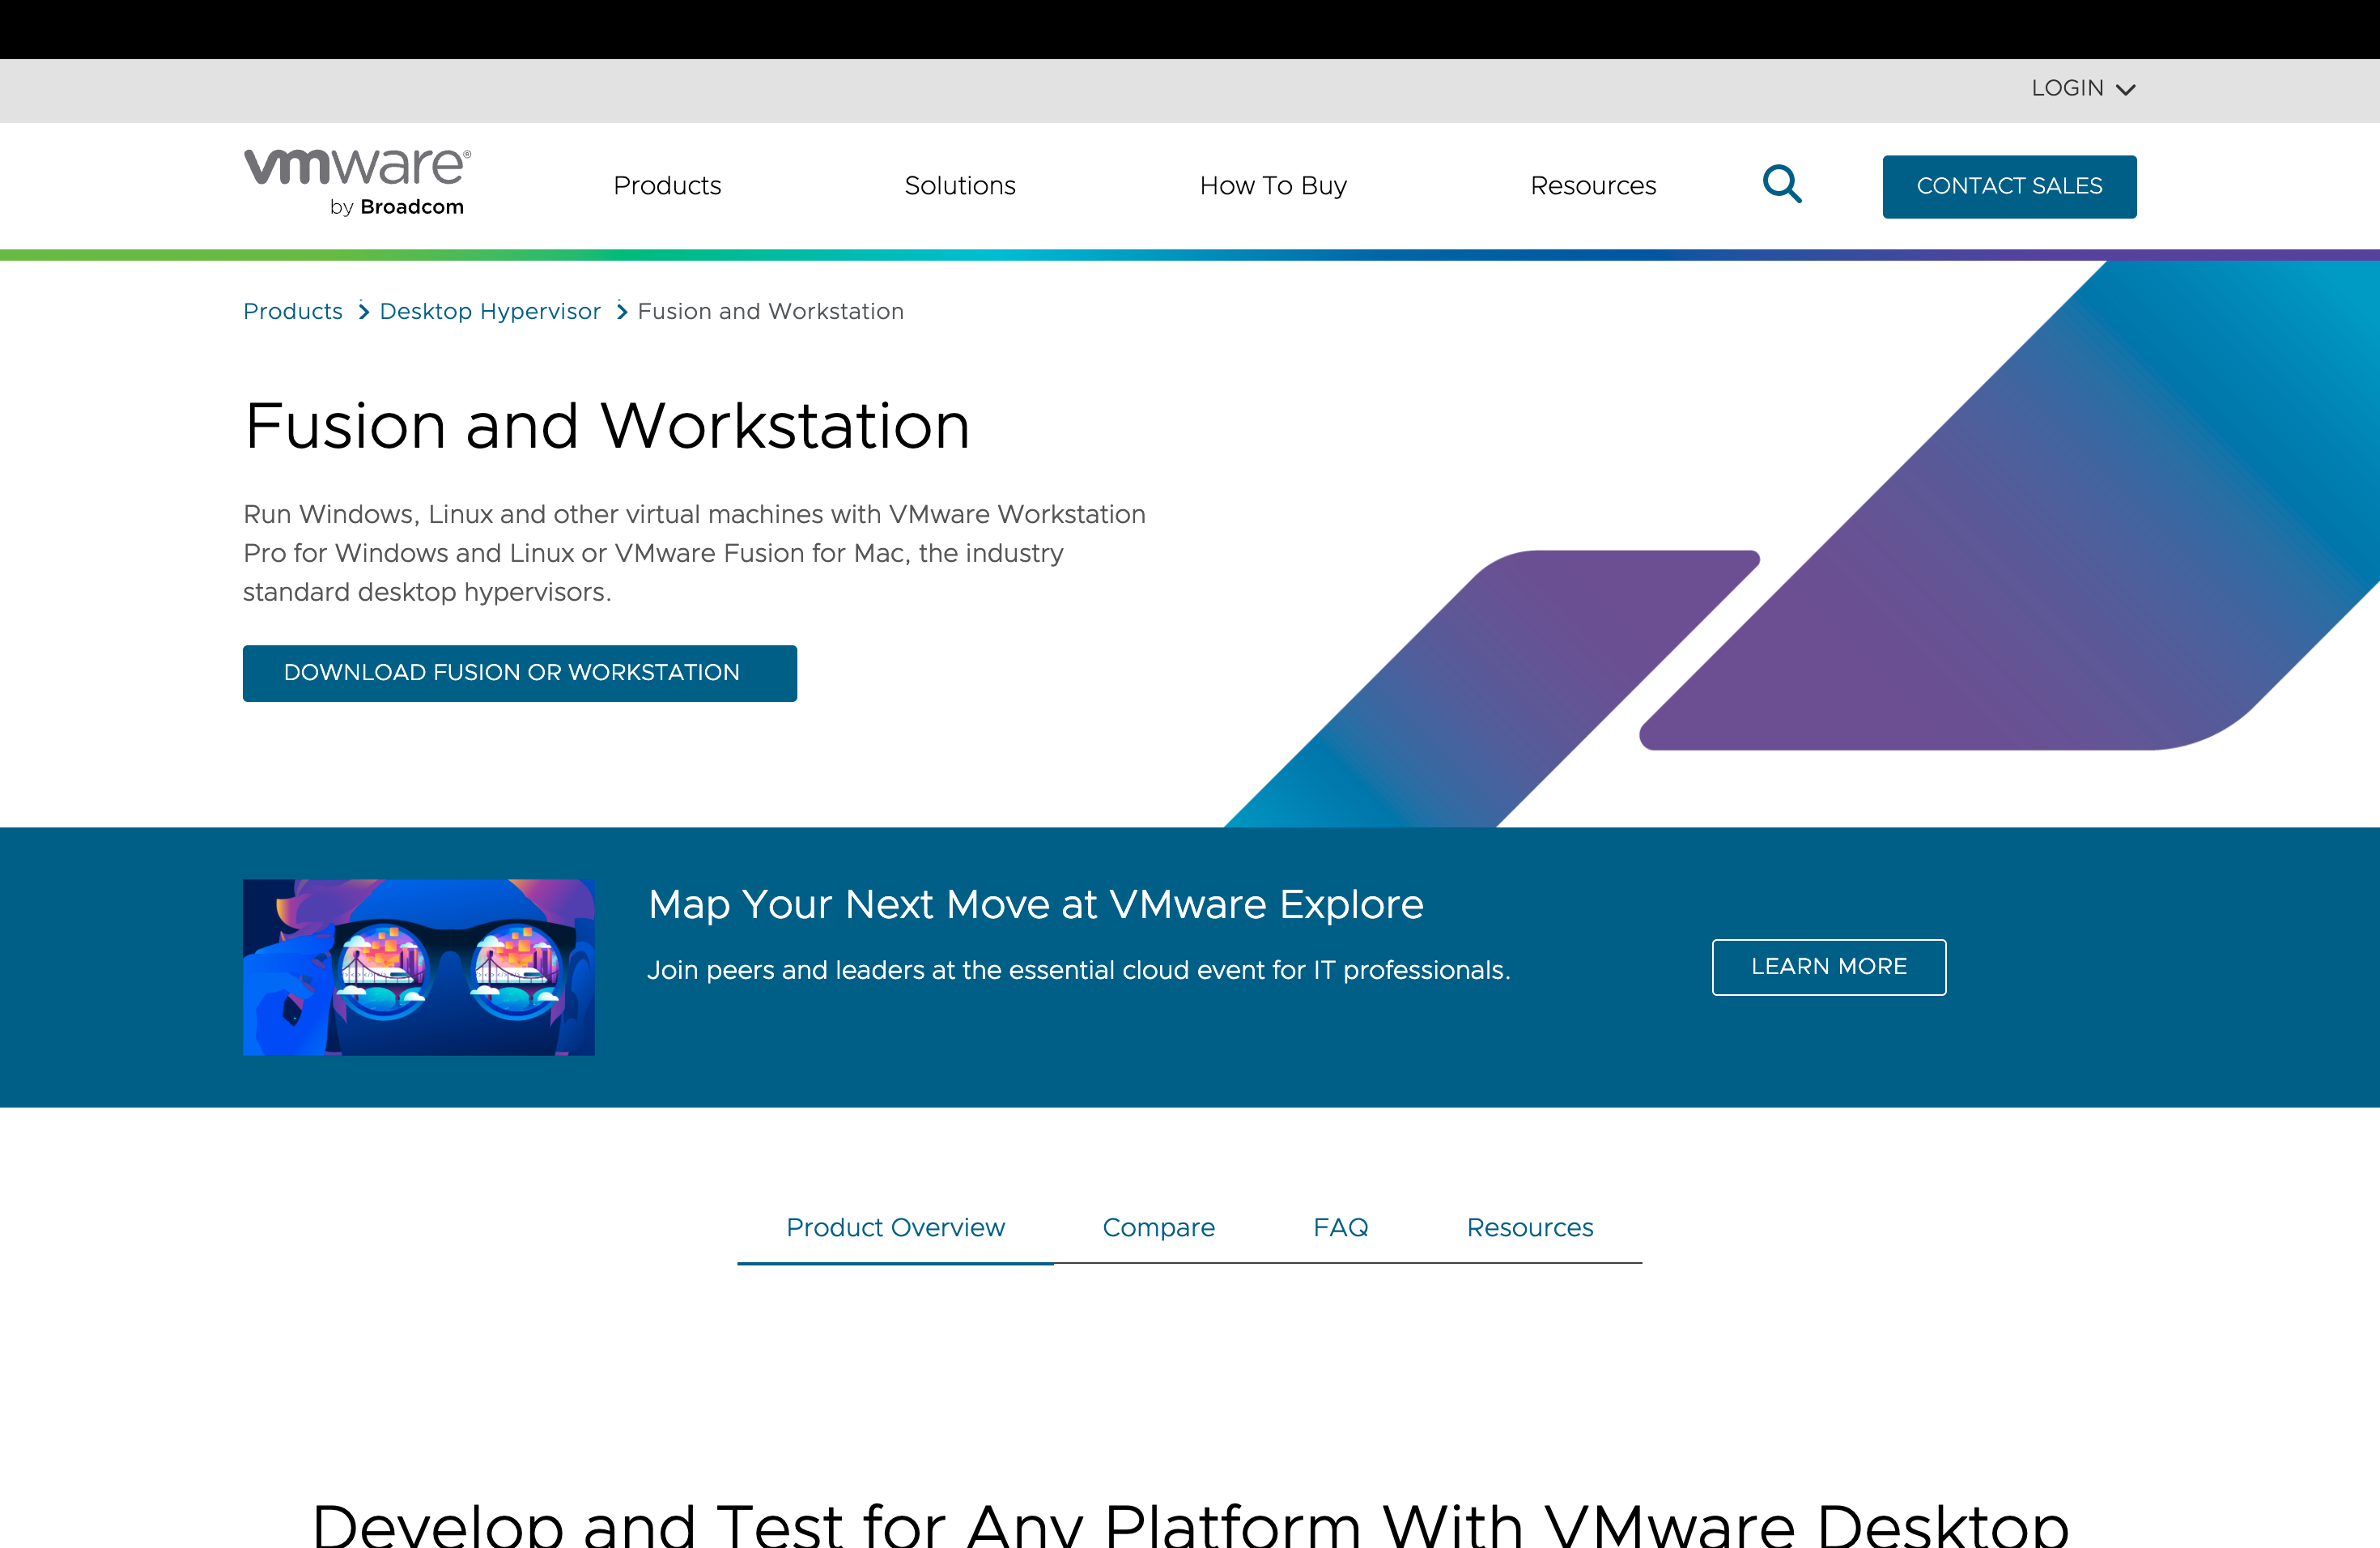
Download VMware
Go to VMware, click on Download
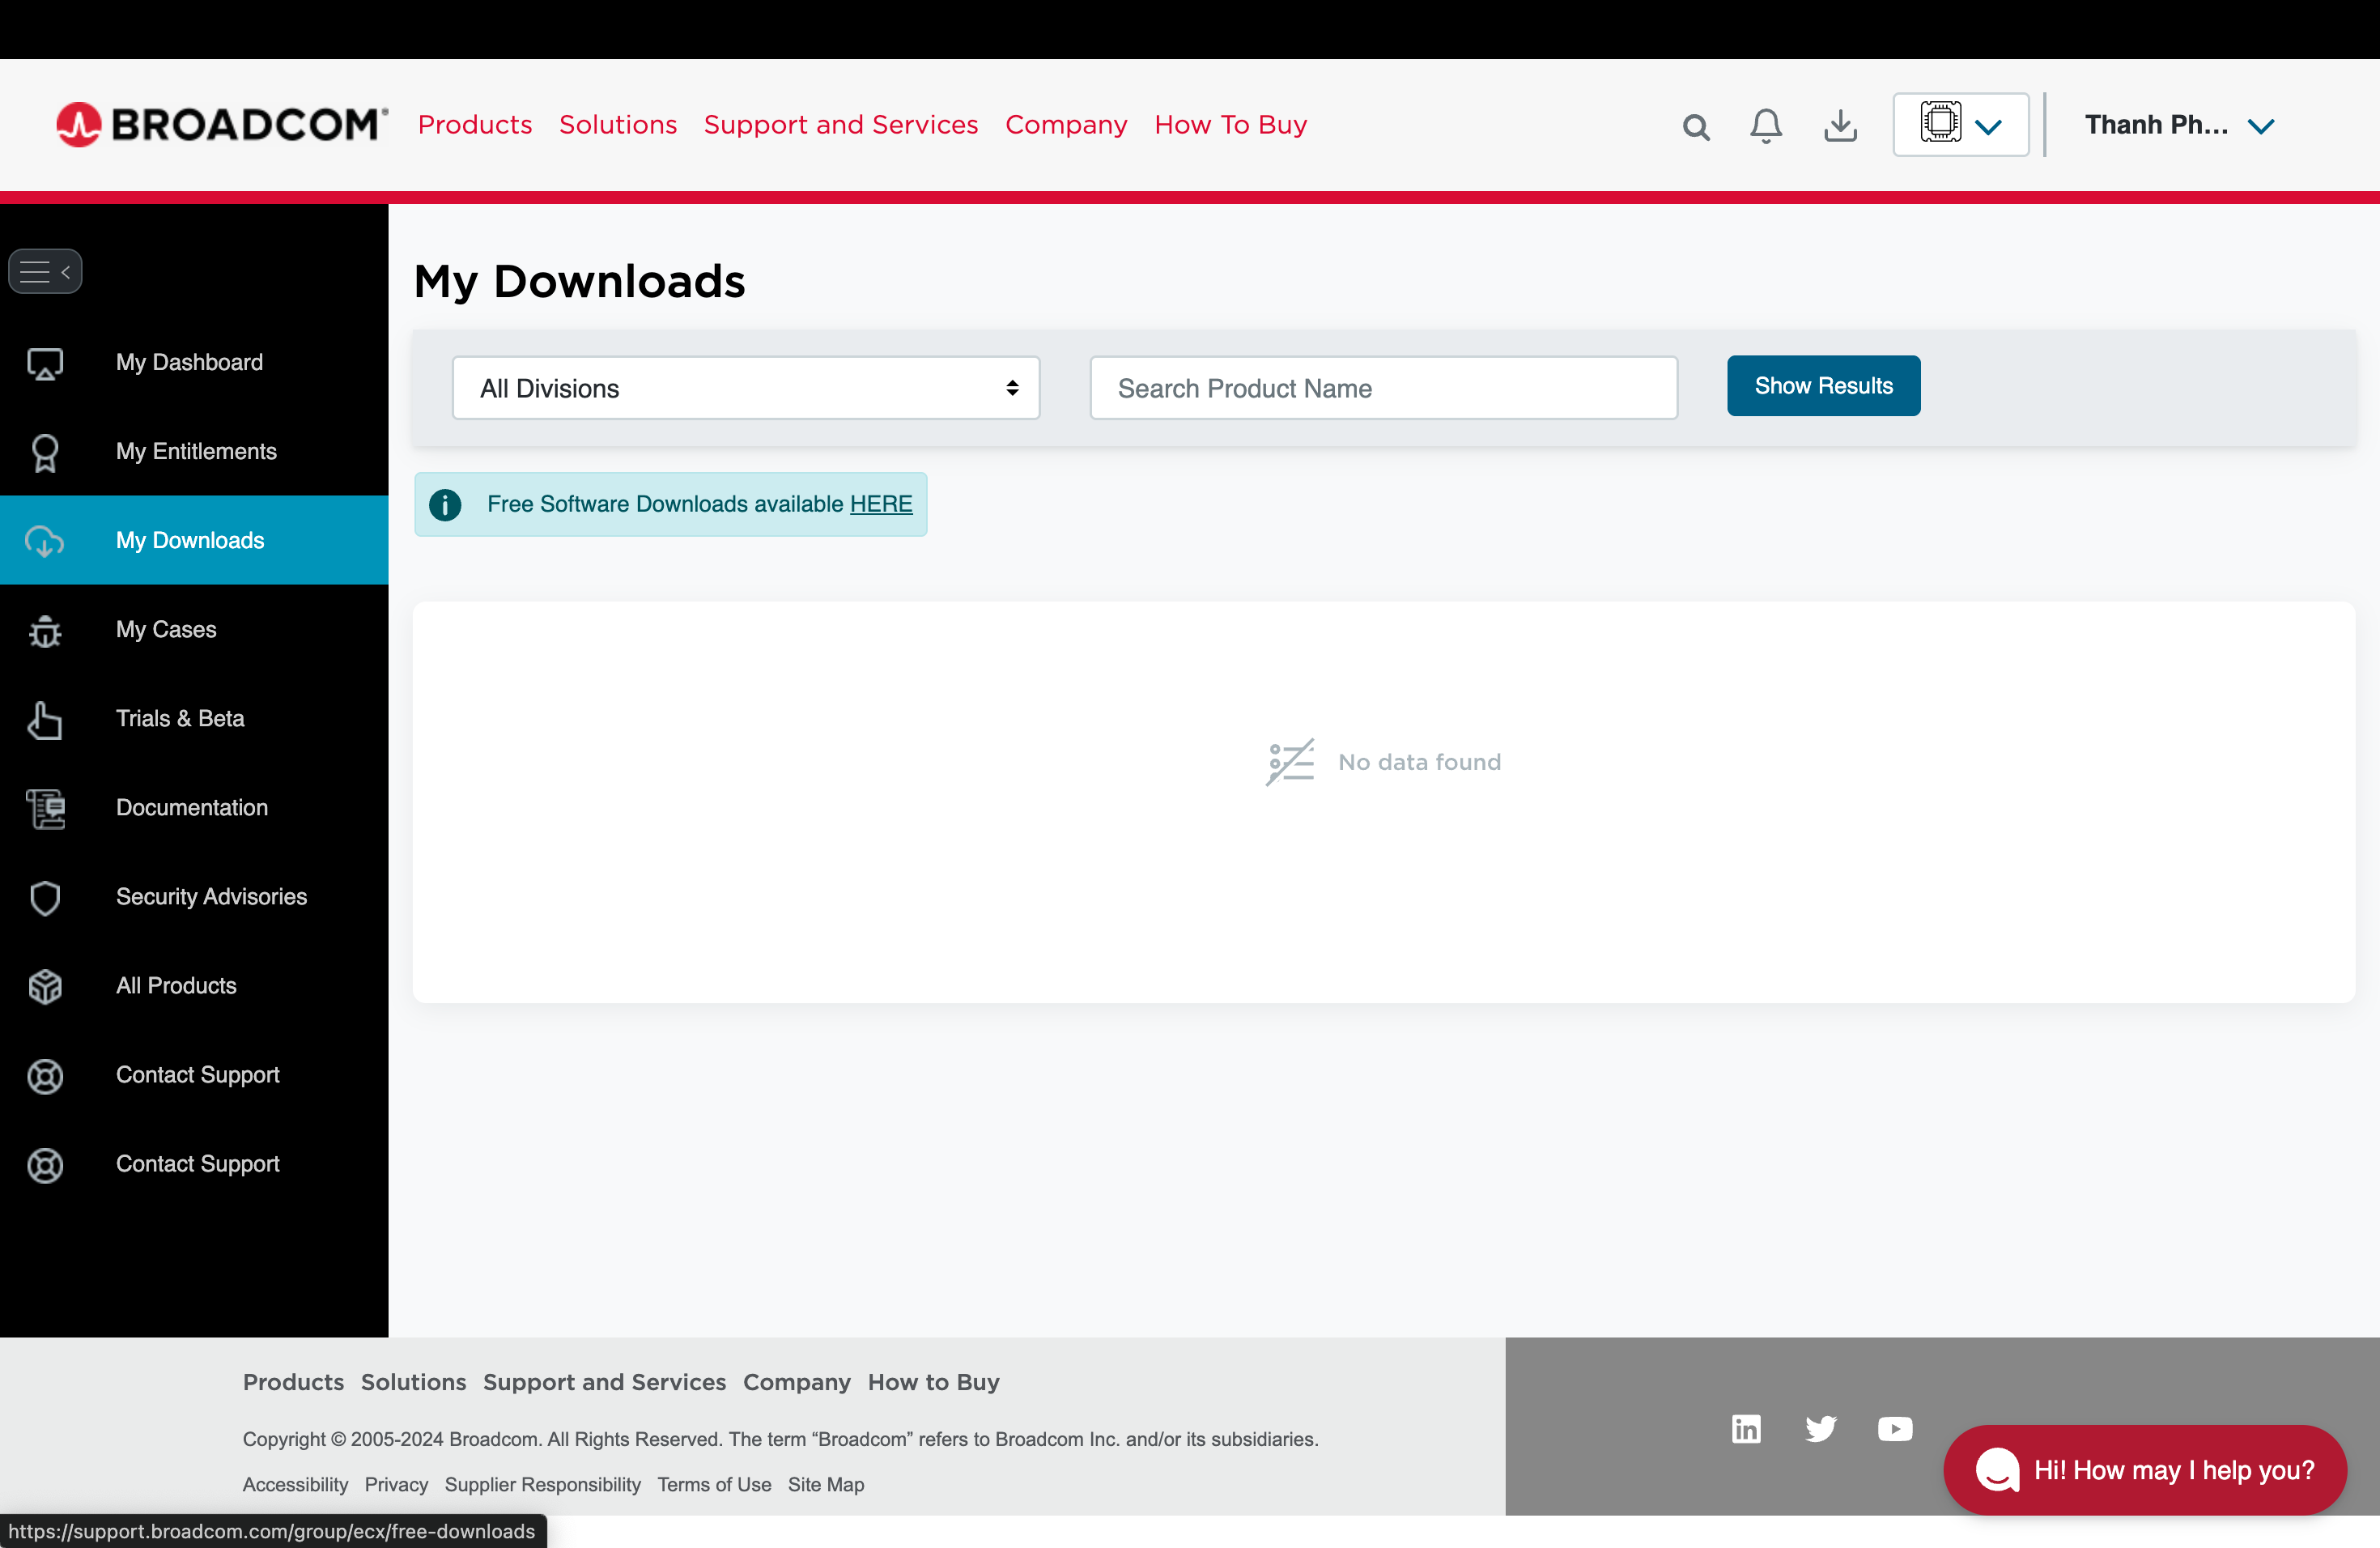
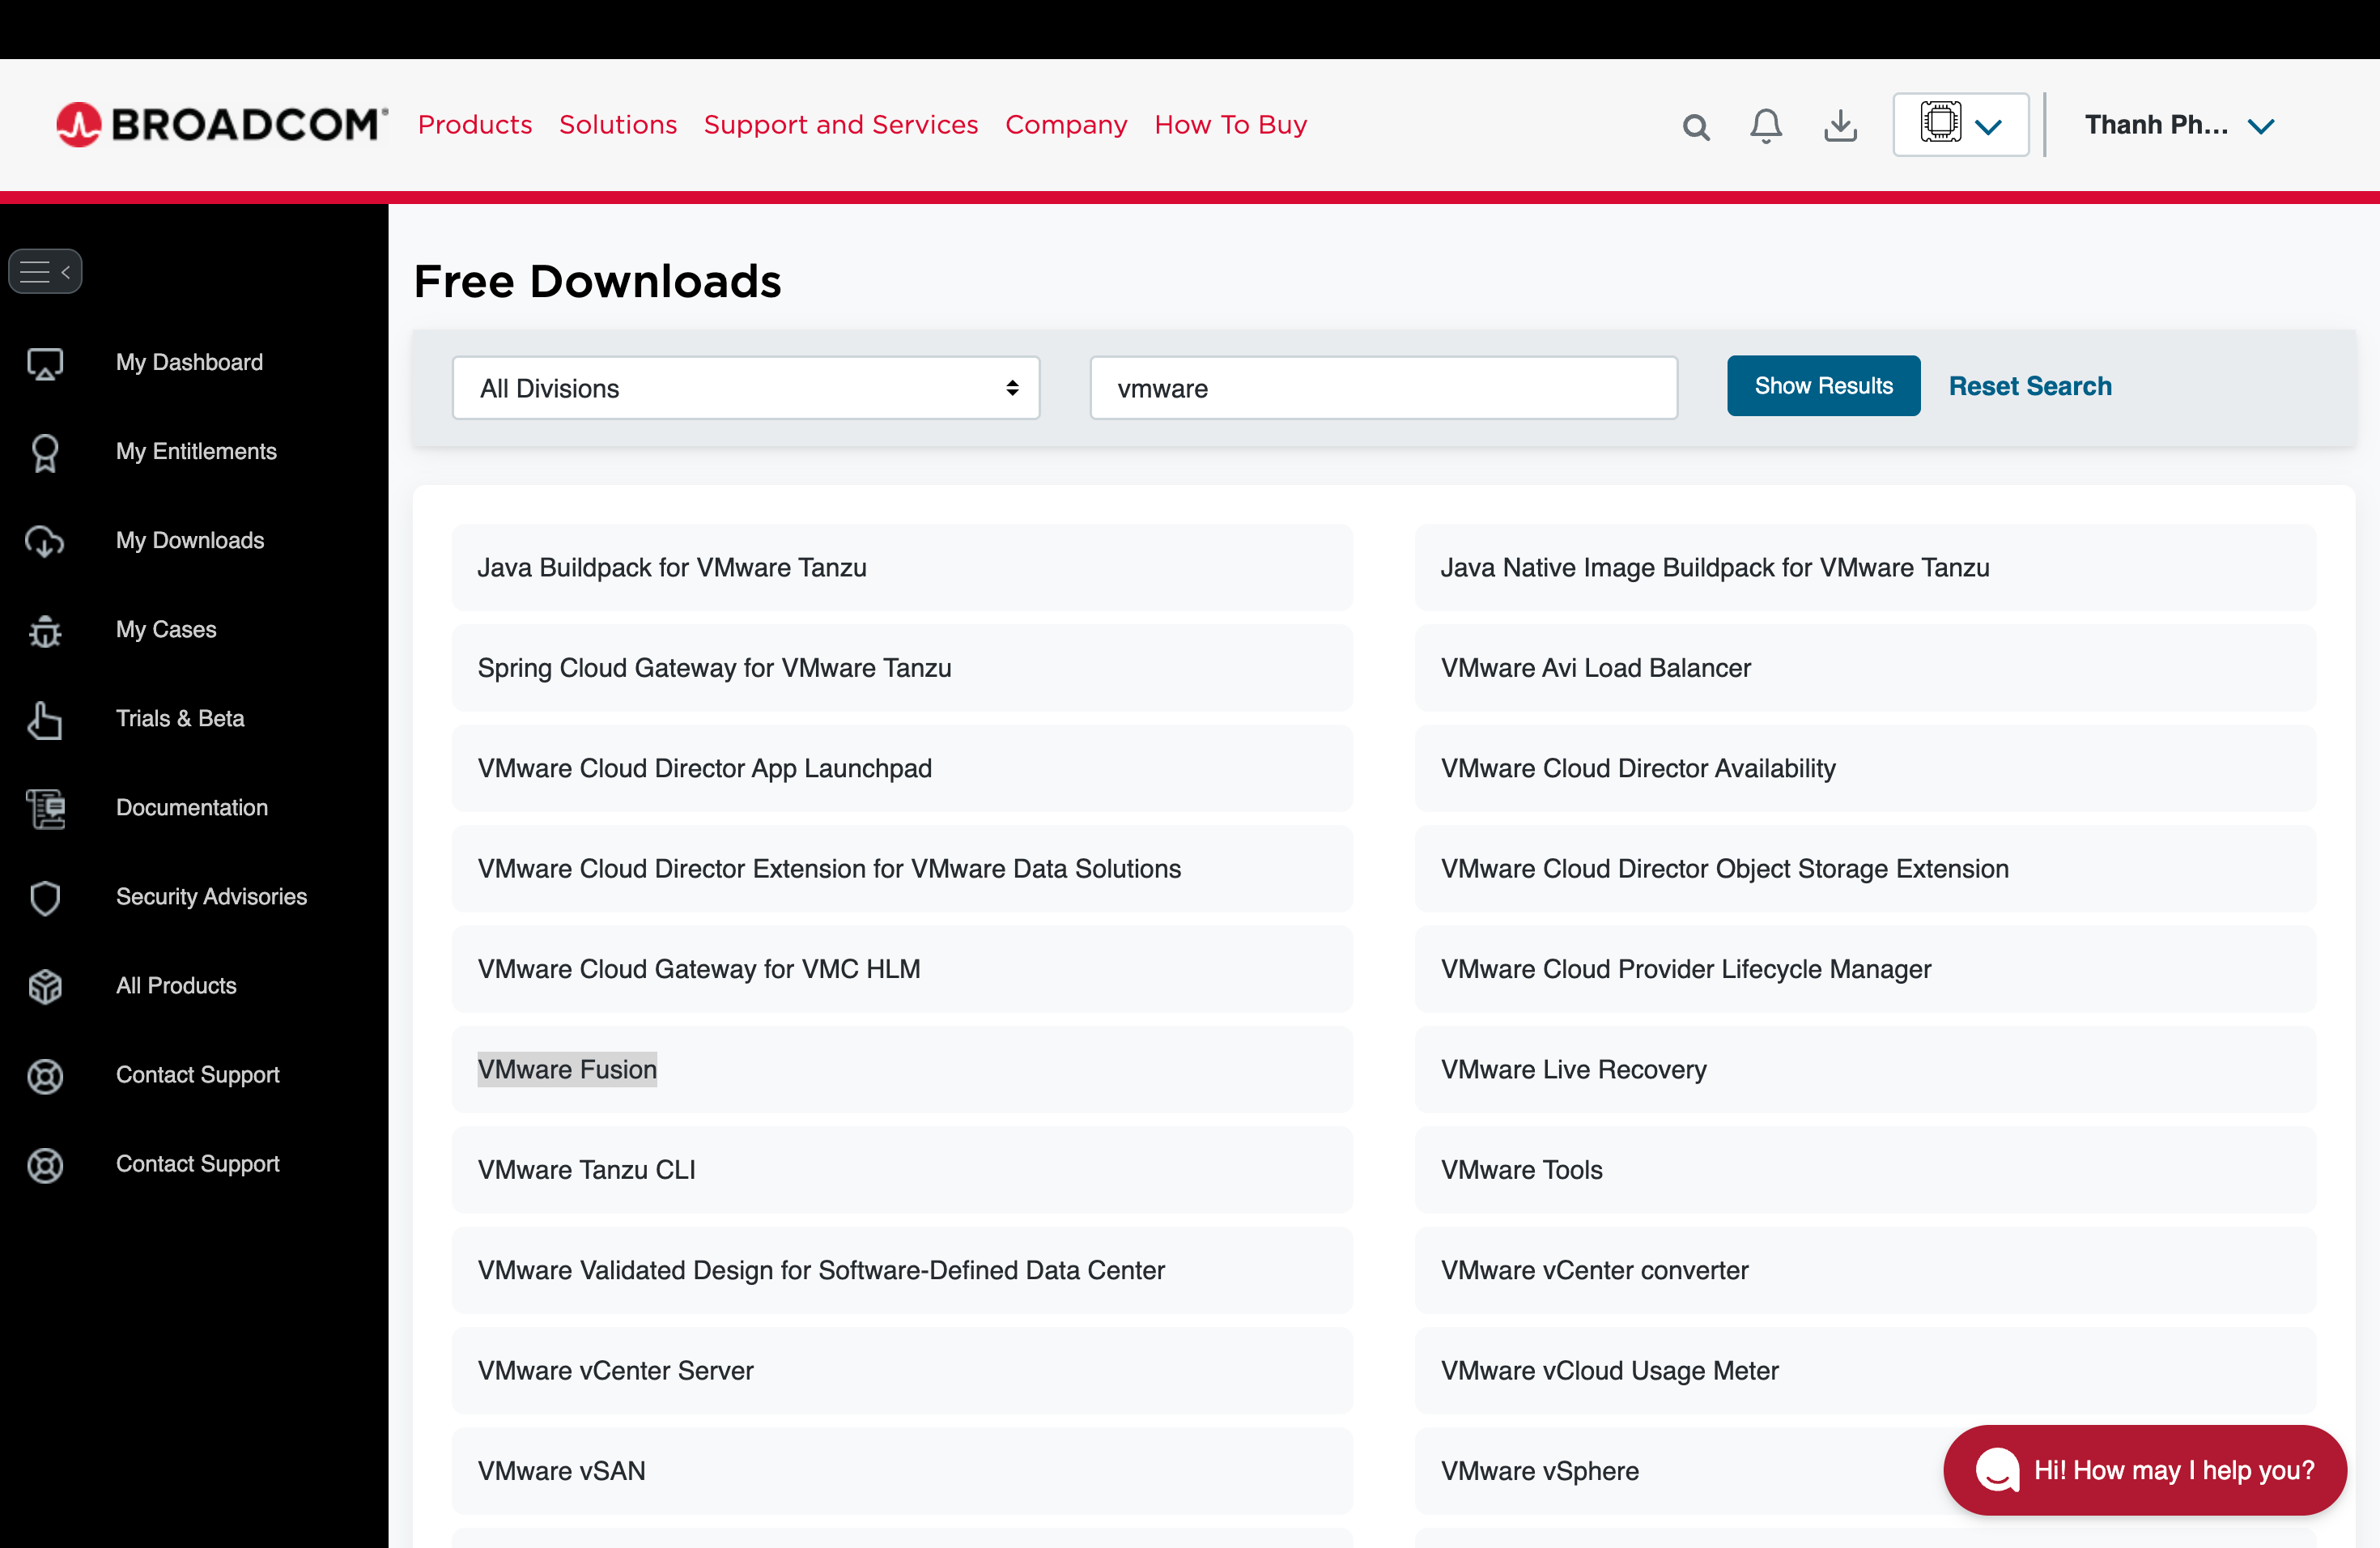
Register your account, after login, we will see Free Software, click on it.
Search for VMware and click on VMware Fusion, download the latest version.
Set up Kali Linux machine
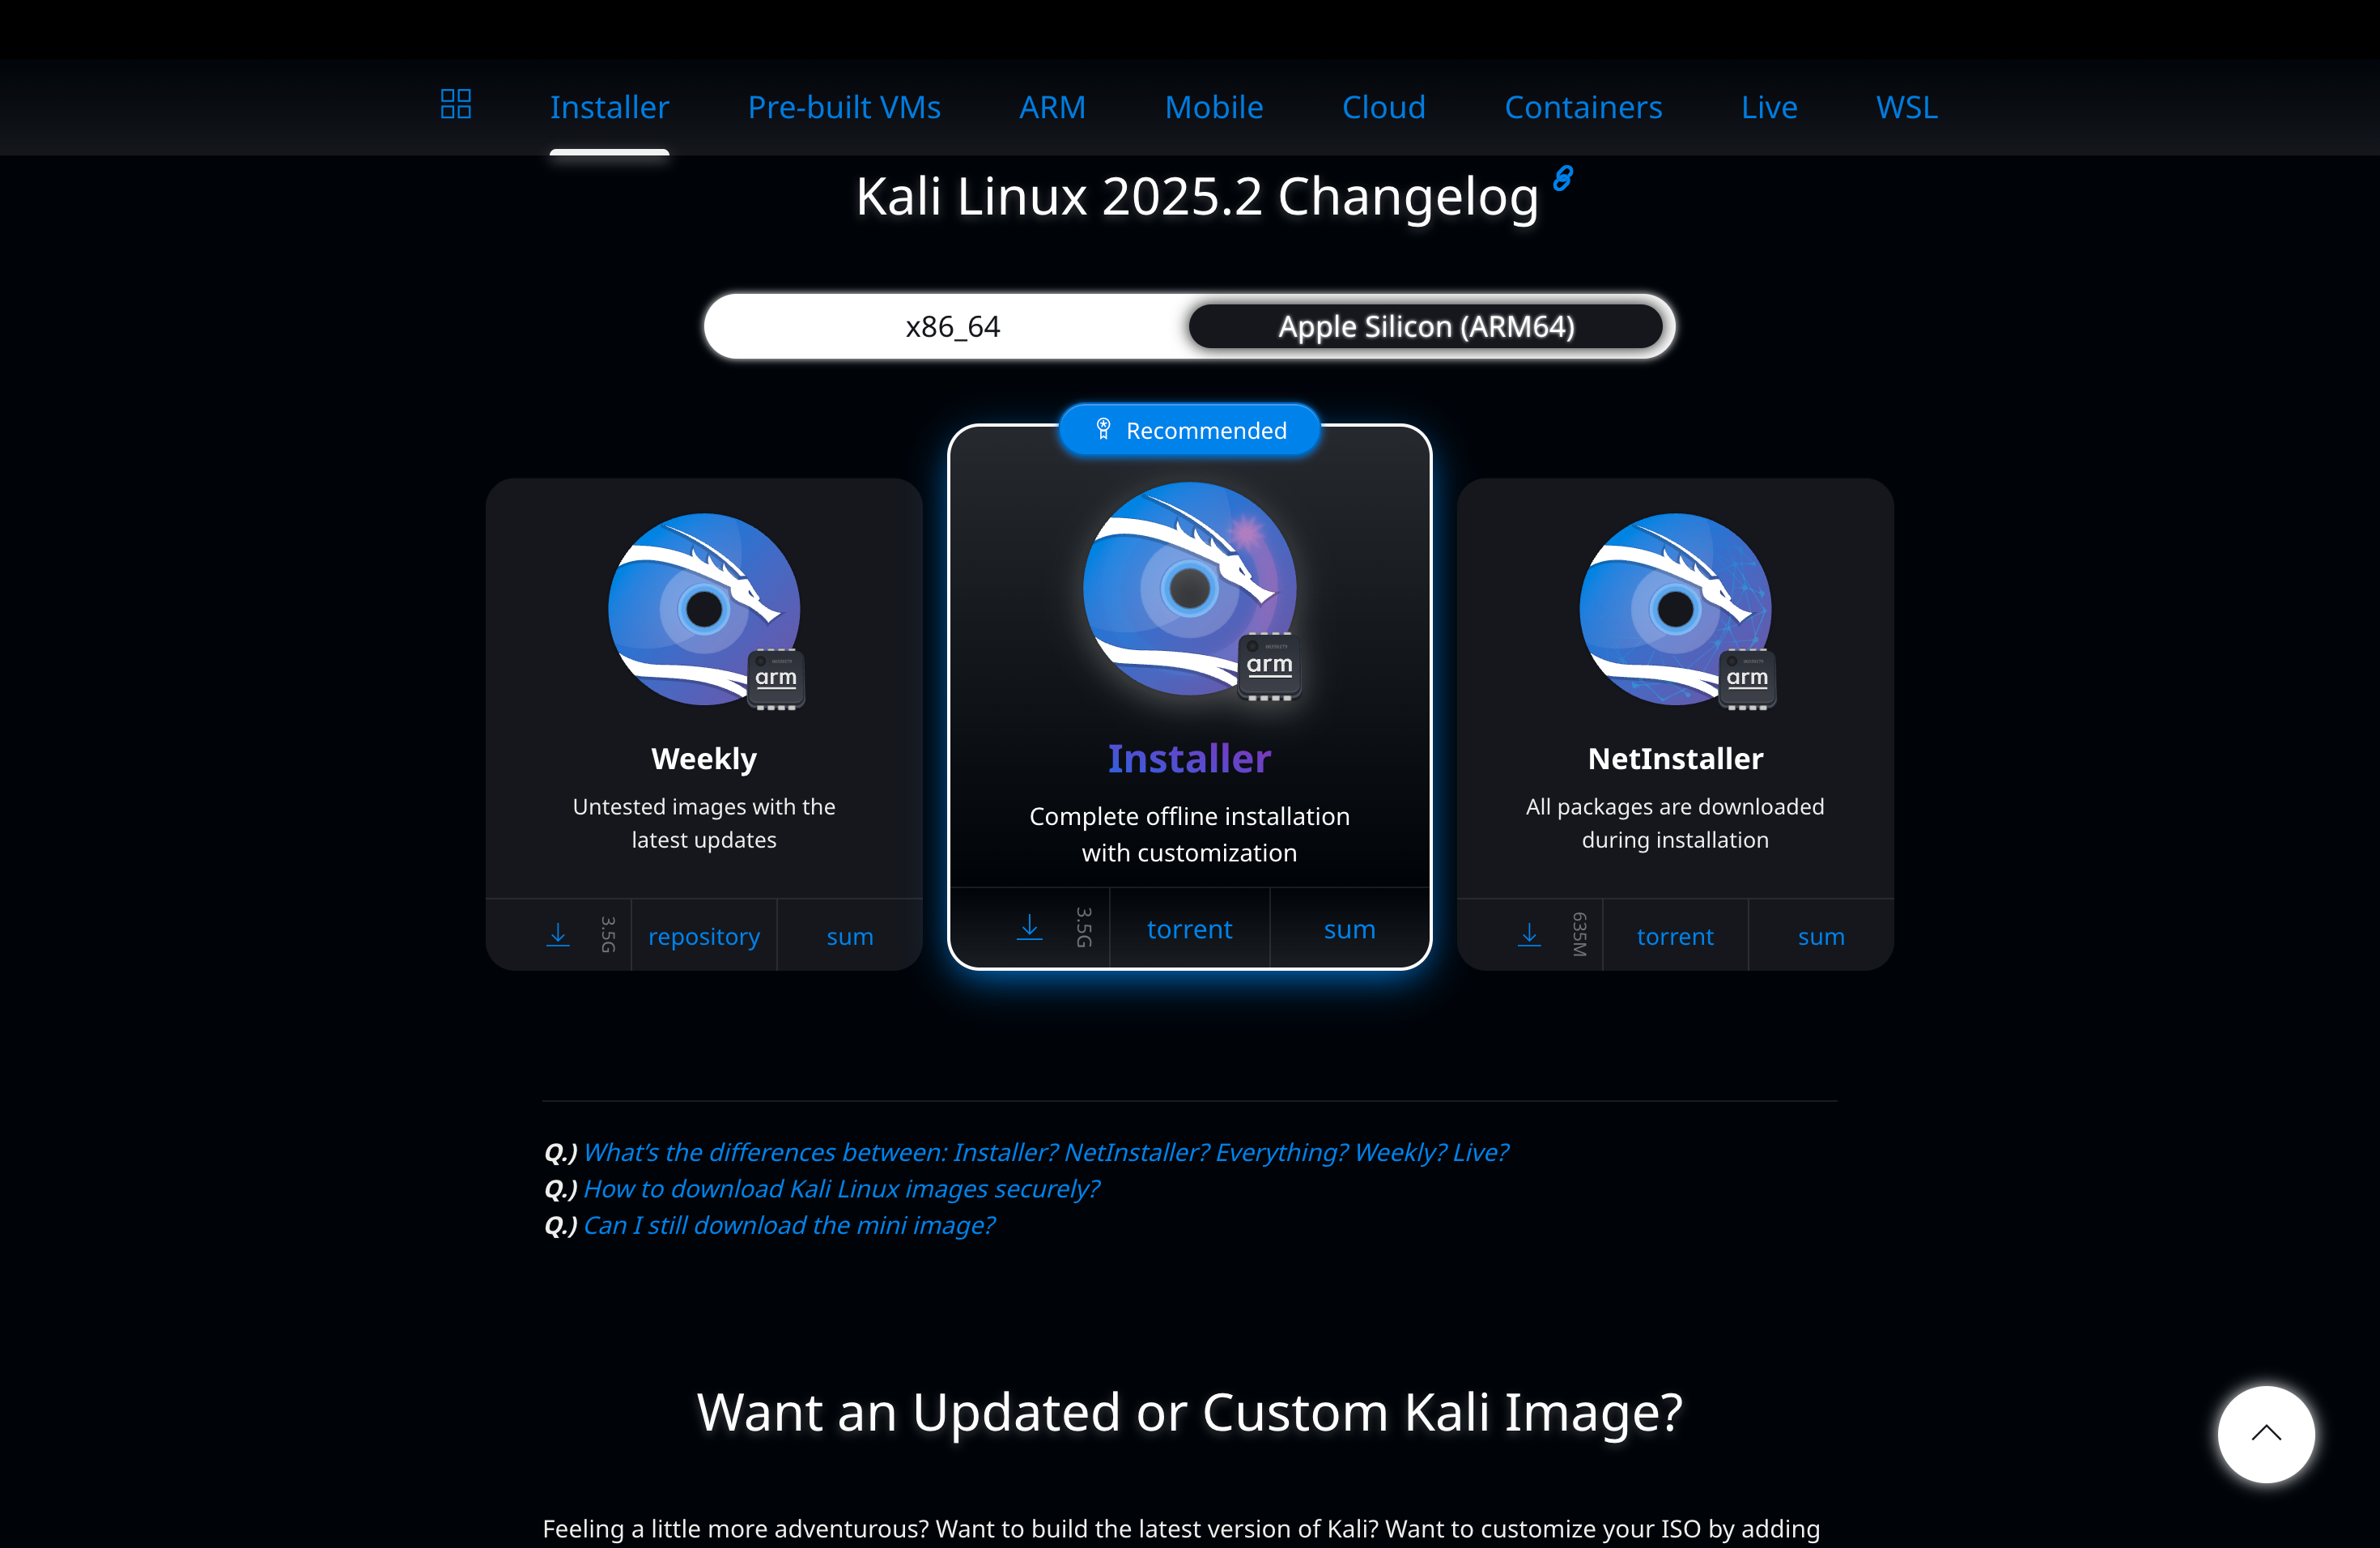
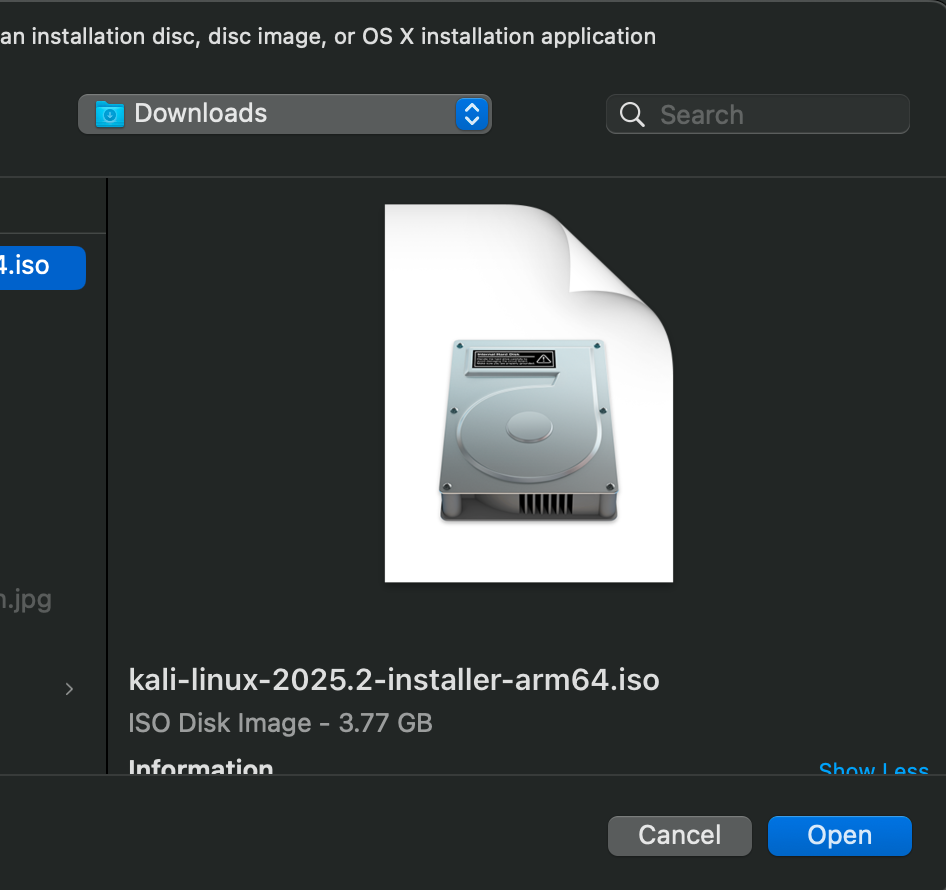
Next, we need to download image of Kali Linux, go to ISO
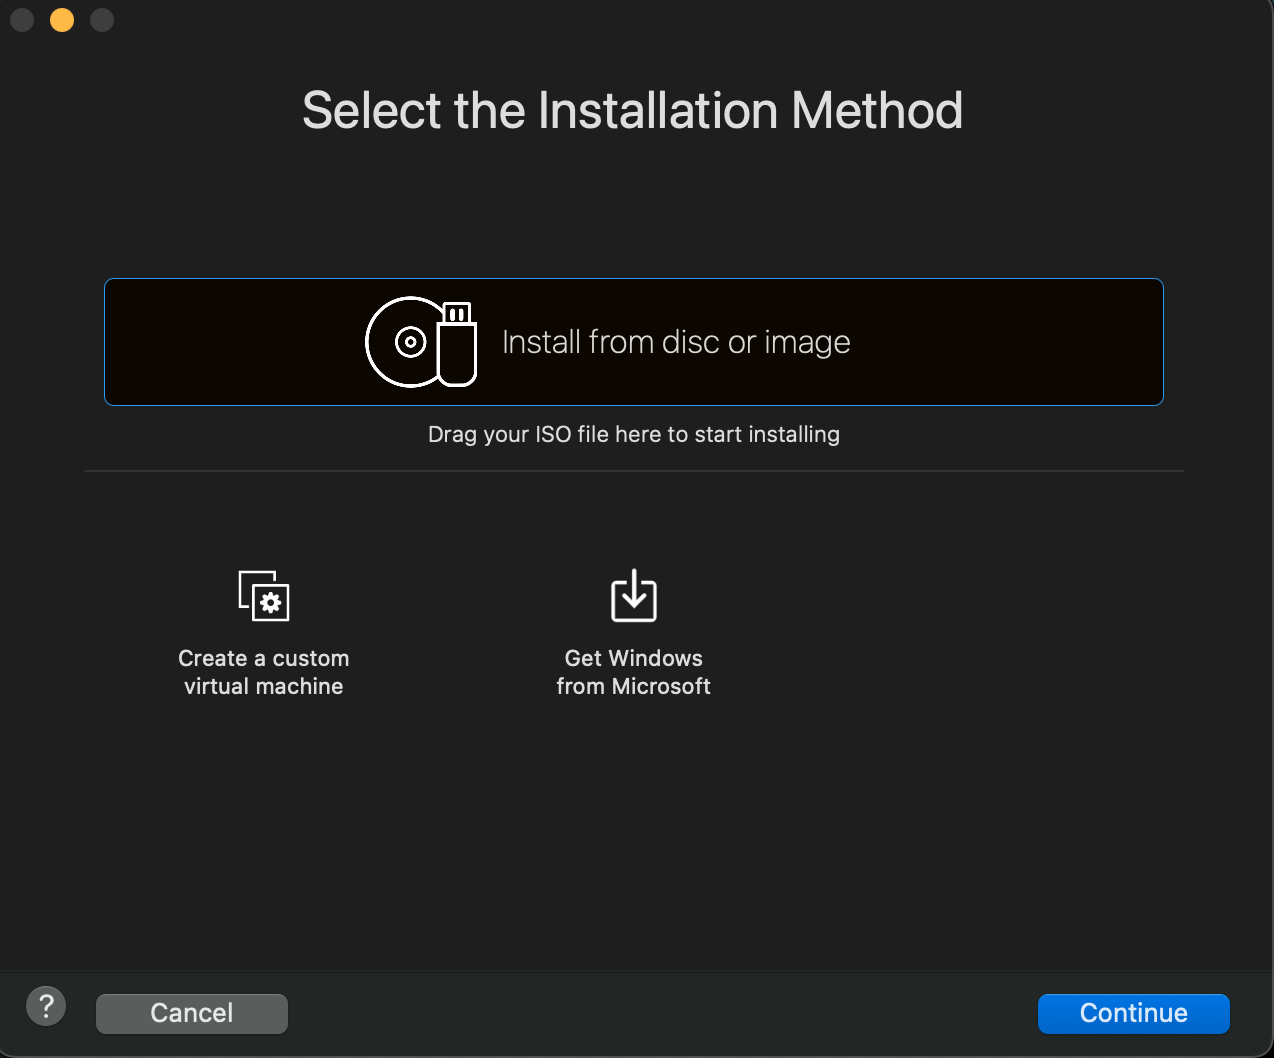
After downloading VMware, open it and add New

Choose Install from disc or image
Add the .iso file we just downloaded
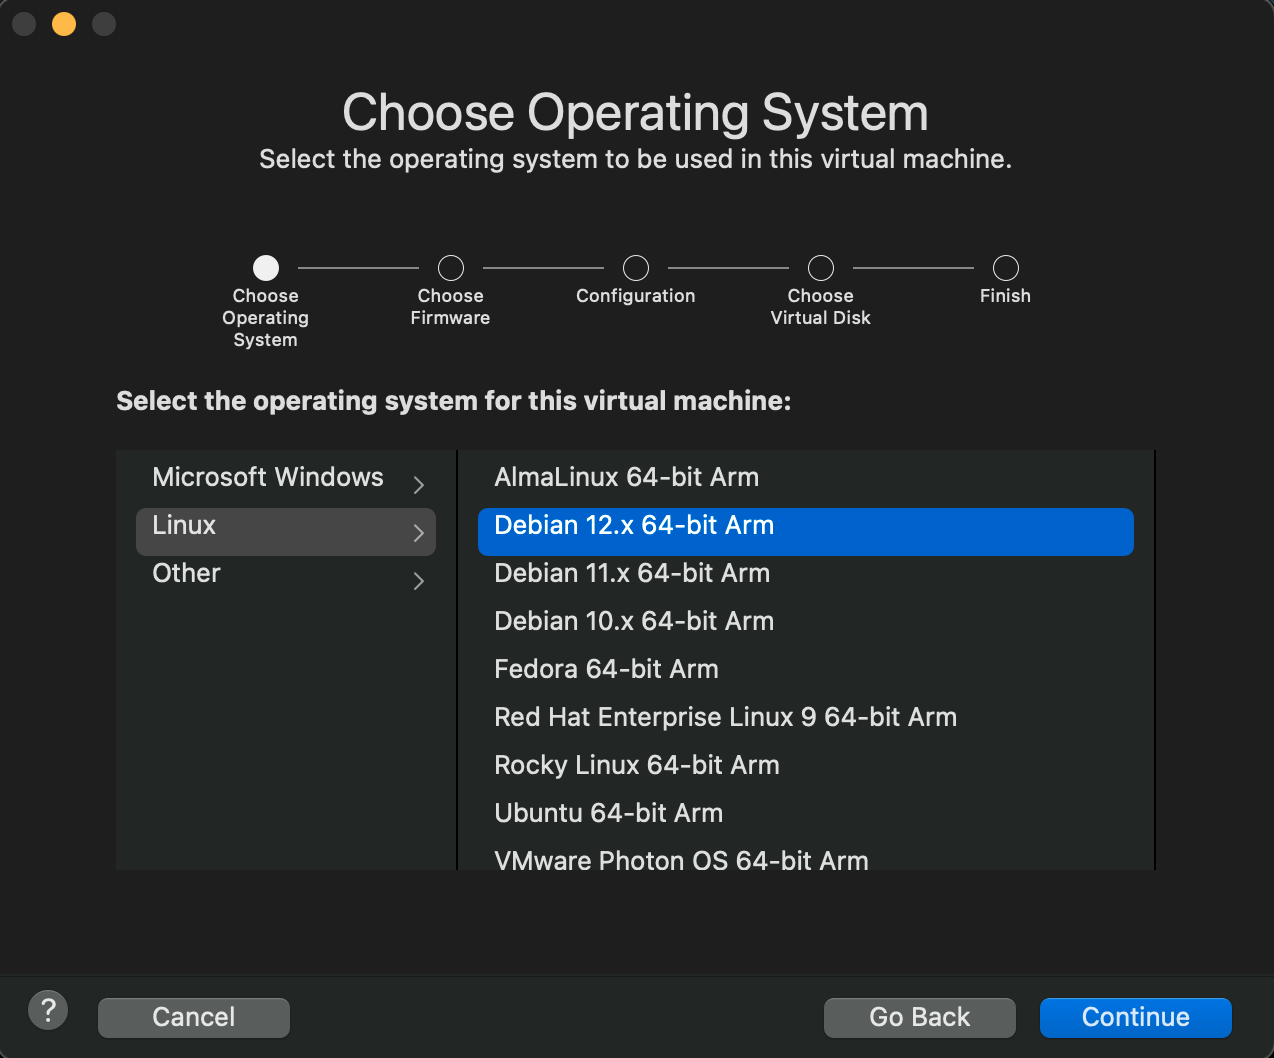
Choose the latest version of Debian
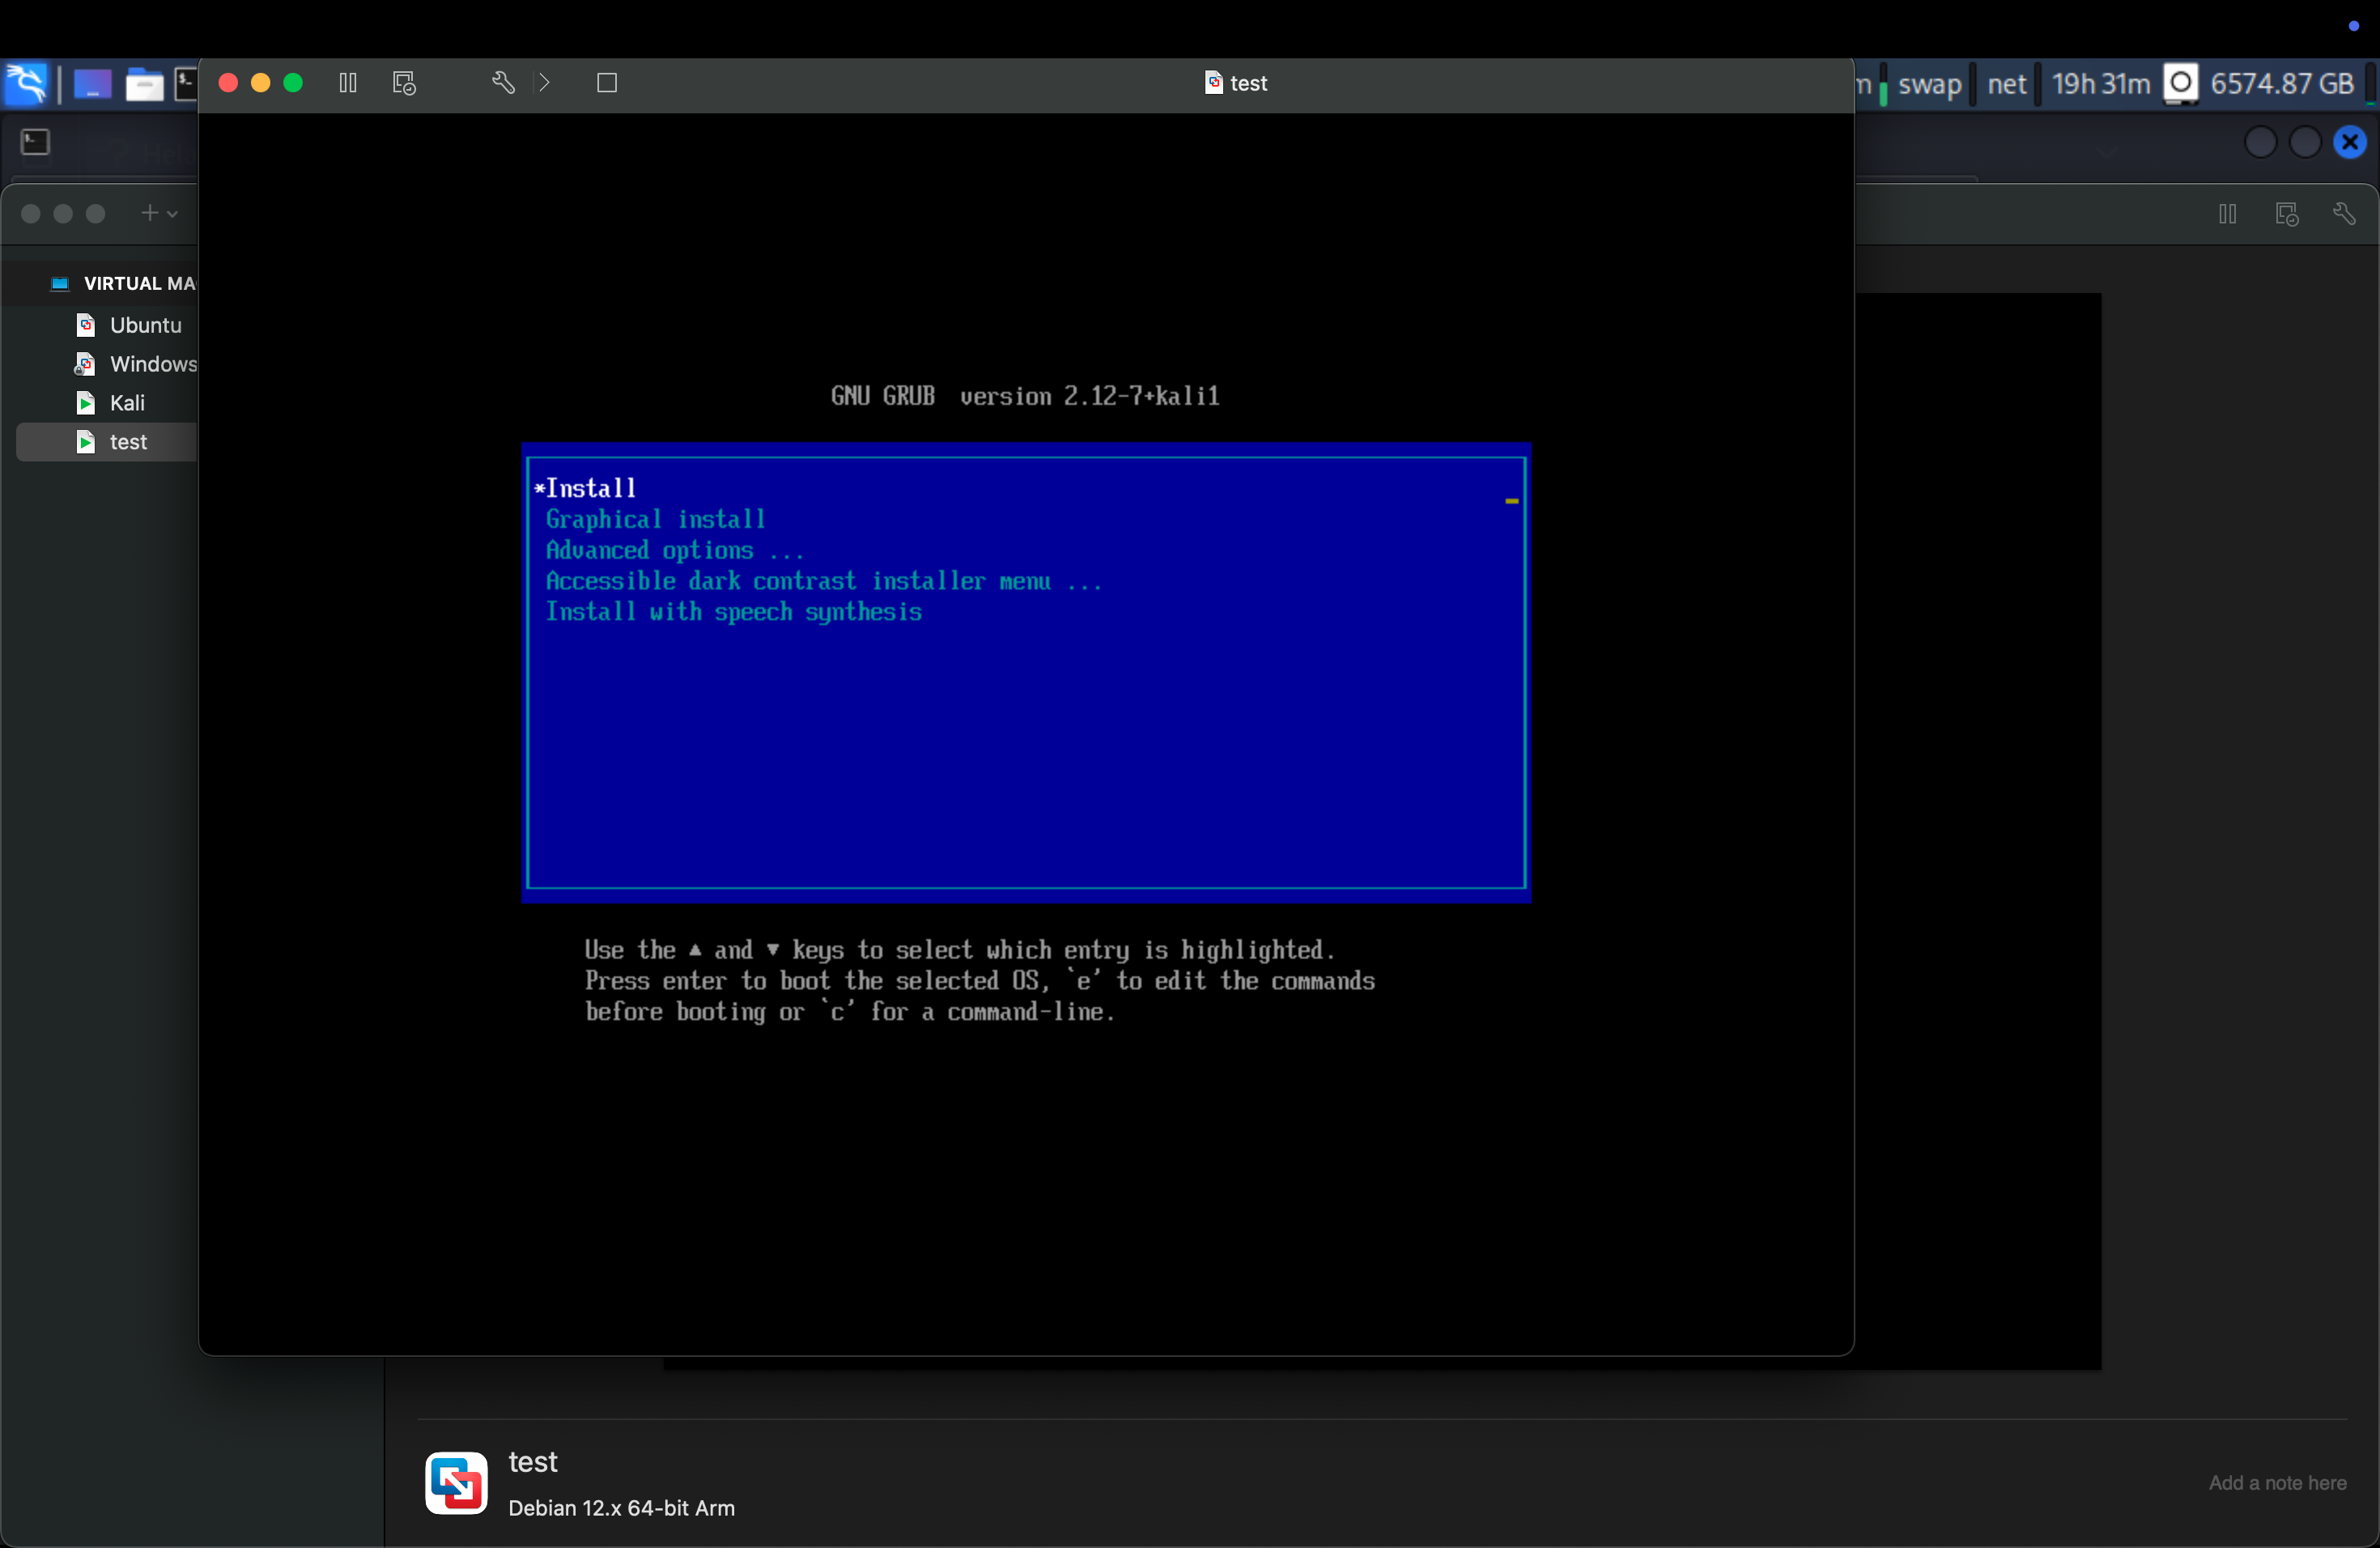
Choose Install means we will install in terminal
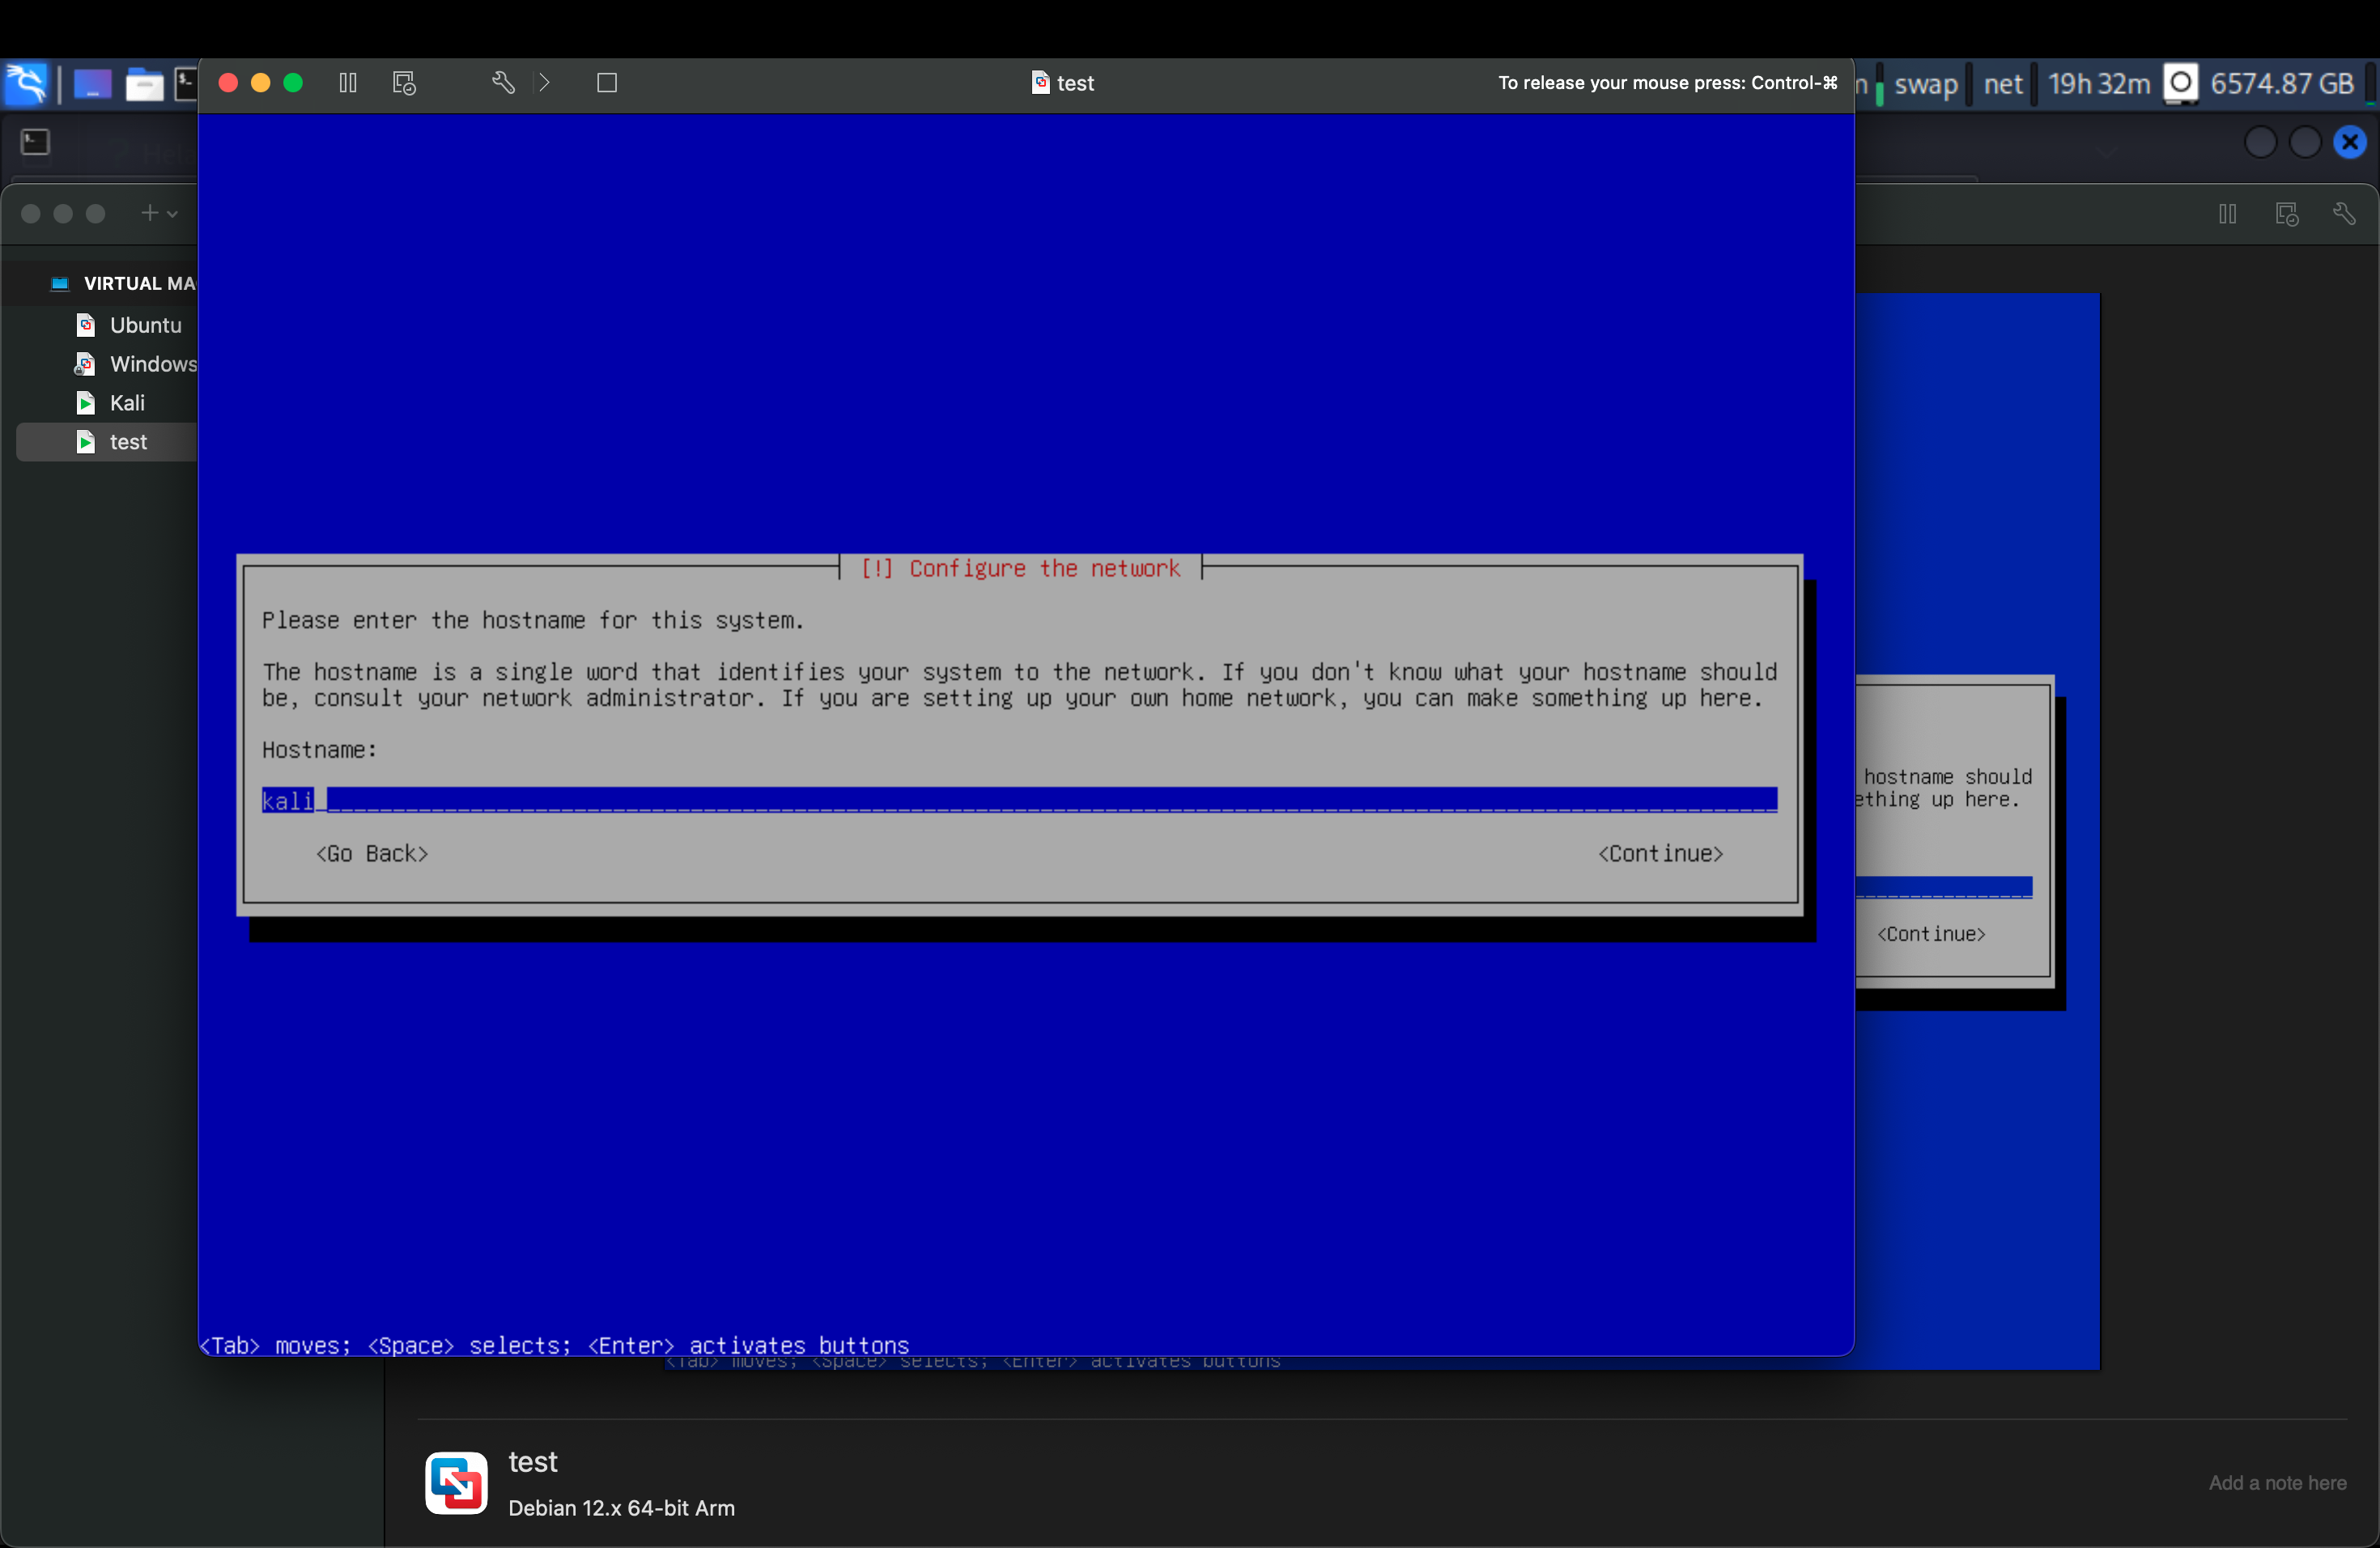
After choosing language, location, and keymap, we will name our host.
1
---(heland@kali)-[/]
heland is username, kali is hostname
then next until finish.
Setting
After installing kali, we need to custom machine to have well performance.
- CPU: More cores = better multitasking; Faster CPU = faster tool performance and lower lag.
- RAM: Running multiple programs at once; Smooth experience; Fast switching between apps and tools
- HDD/SSD: Booting Kali Linux quickly; Saving and loading large files; Installing and updating tools fast
| Component | Spec |
|---|---|
| CPU | 4 cores |
| RAM | 4GB |
| HDD/SSD | 512GB |
Above is my recommendation.
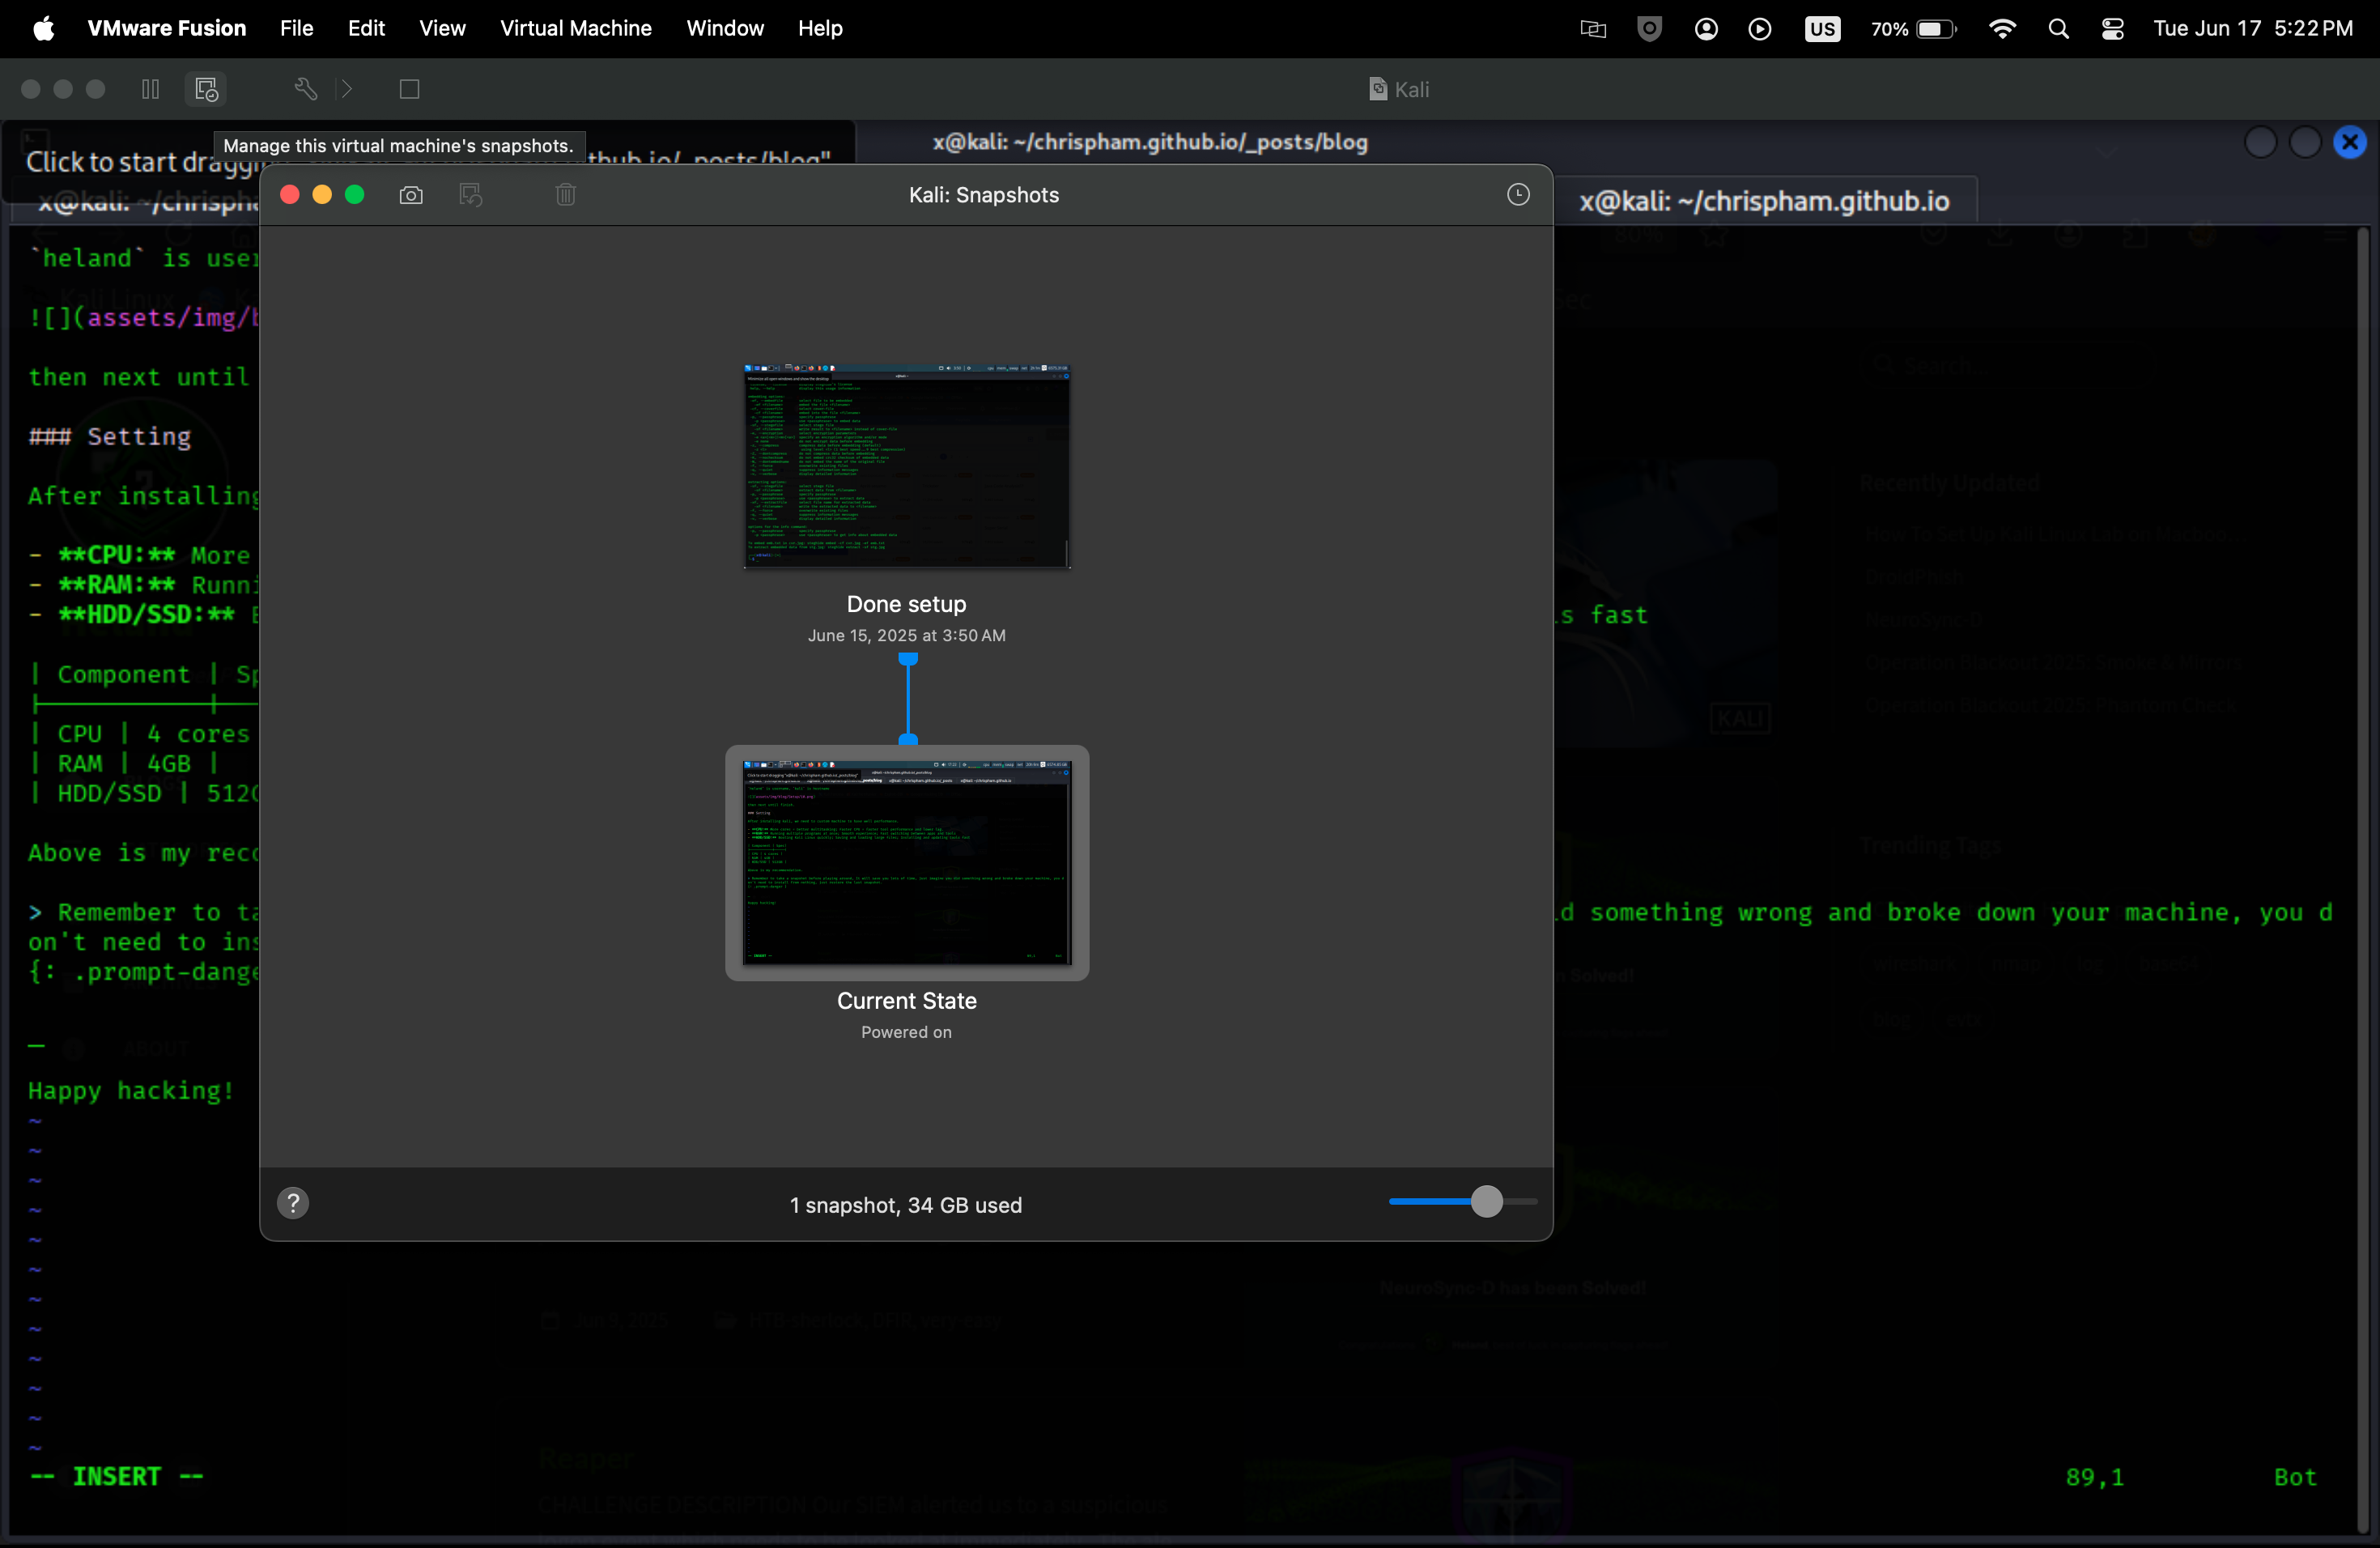
Remember to take a snapshot before playing around, It will save you lots of time, just imagine you did something wrong and broke down your machine, you don’t need to install from nothing, just restore the last snapshot.
Happy hacking!